


 By: Admin
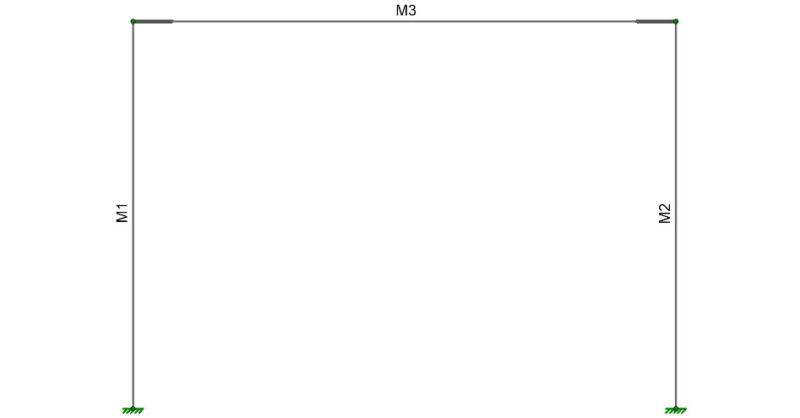
Have you ever wondered what the Analysis Offset feature does? Let’s take a look at how this feature can be used to model members at top of steel.
The analysis offset feature allows a member to be offset from its centerline for analysis. When it is enabled the member is actually shifted to the offset location for analysis. In order to provide connectivity the program places hidden rigid links to connect the member to the nodes that define the member’s I/J Joints. Joints which fall along a physical member are also automatically connected to the member’s actual analysis location via hidden rigid links.
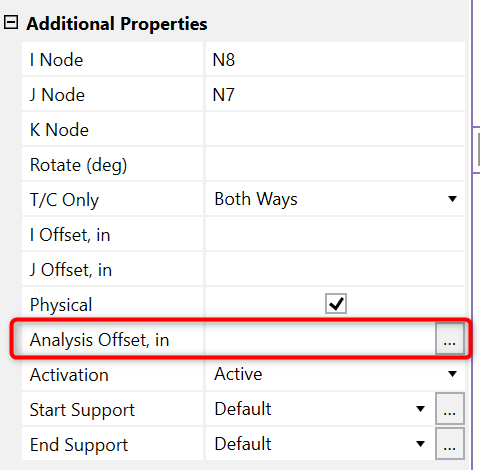
You can access the analysis offset by clicking on the member or through the Advanced tab of the Members spreadsheet.
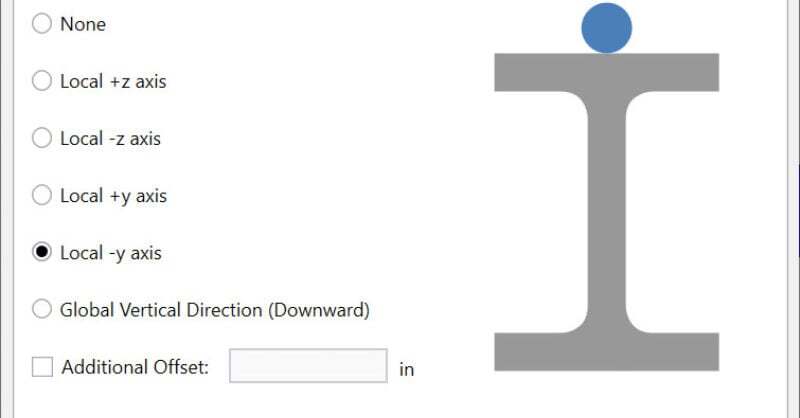
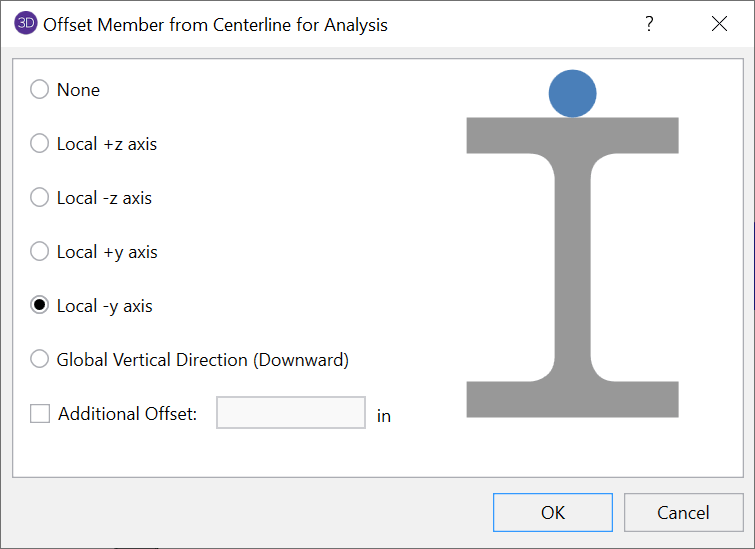
When the analysis offset dialogue is opened, the software will present the user with options for offsetting the member from its original centerline. The most common option for analysis offset is Local -y axis, which equates to setting the analysis line at top of member.
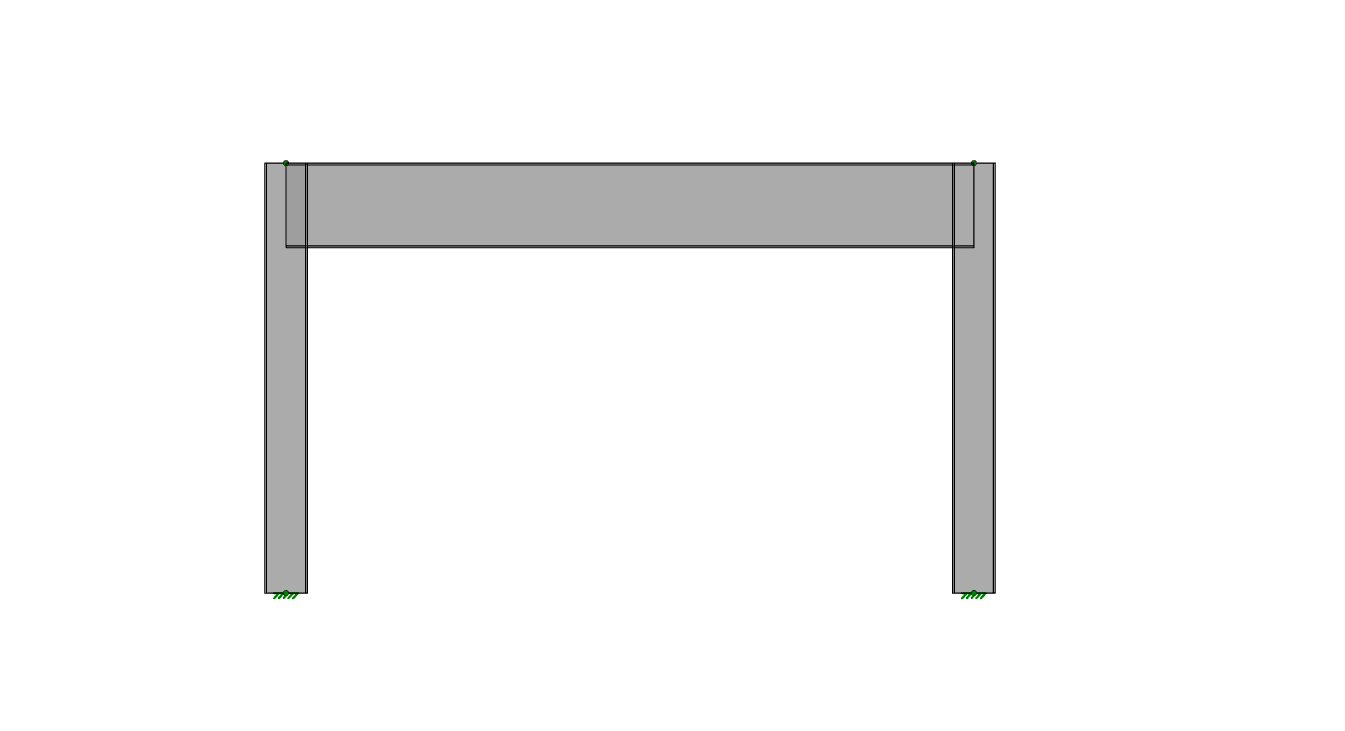
Using this setting for the beam in a simple frame system allows for a more realistic representation of the structure (which can be seen graphically when the rendered view is enabled).
It is important to understand how the analysis offsets can affect the analysis and design results of a given model. Although, it may seem necessary to model the structure exactly as it is built, many times there can be unintended consequences that make the use of this feature undesirable. For more information about the issues that can arise when using analysis offsets, refer to the Tips & Tricks article below.

MAY 24, 2010
Read More
Define a Beam Eccentricity in RISA-3D
When you have a deep column, it is necessary to model the beam so...
SEPTEMBER 16, 2015
Read More
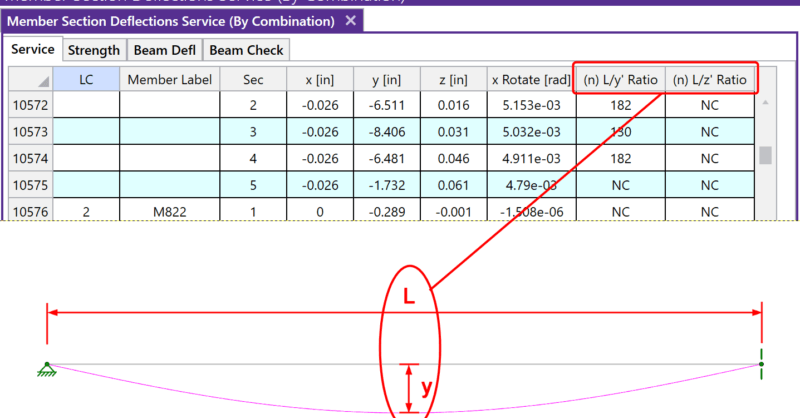
How RISA-3D Calculates Member Deflection Ratios
After solving a model, you will see in the Member Deflections...