


 By: RISA
Making the Switch: Your Guide from RAM Elements to RISA-3D
If you’ve been using RAM Elements primarily for component checks and small...
Transitioning structural analysis platforms can feel like a major shift—but with the right plan, the process can be straightforward and rewarding. If your firm is moving from STAAD.Pro to RISA-3D, this guide walks through the key steps to help you transition efficiently while maintaining productivity.
Switching structural software isn’t just about learning a new interface—it’s about improving how your team delivers projects. In this Making the Switch series, we walk through practical steps for moving from established platforms like STAAD.Pro, RAM Elements, and RAM Structural System into a RISA-based workflow, with a focus on minimizing disruption and maximizing productivity. Each guide is written for busy engineers and project managers who want clear migration steps, not a marketing pitch, so you can compare workflows, plan a pilot, and get real work done while you transition.

Before you move any projects, define what “better” looks like for your team. Firms that switch from STAAD.Pro to RISA-3D are often looking for:
Capturing these goals up front helps you measure the impact of the switch instead of just “changing software.”
STAAD.Pro and RISA-3D take different approaches to modeling, so most projects will be partially rebuilt rather than directly converted.
Focus on:
Many teams find that once they’re familiar with RISA-3D’s interface, iterating on models—especially for buildings and typical structures—becomes noticeably faster than in a text-heavy workflow.
One of the biggest differences you’ll notice when moving from STAAD.Pro is how quickly engineers become productive in RISA-3D.
To ramp up efficiently:
Because the interface is designed to be approachable, the training burden and time-to-proficiency are typically lower than legacy, text-driven platforms.
If most of your work is building-focused, one of the key reasons to switch is the connection between RISA-3D and RISAFloor.
Typical integrated workflows include:
This approach lets you use one connected platform for everyday buildings instead of juggling multiple, separate tools.
Rather than moving every active job at once, choose a pilot project where the benefits of RISA-3D will be obvious.
Good candidates include:
Use this pilot to define standards for templates, modeling practices, and internal QA so future projects can follow a proven pattern.
To keep your transition on schedule, build RISA’s support into your rollout plan.
Take advantage of:
With a clear pilot, repeatable templates, and support you can reach quickly, the move from STAAD.Pro to RISA-3D becomes less about “switching tools” and more about upgrading your everyday workflow.
If you’ve been using RAM Elements primarily for component checks and small...
When designing shear walls in RISA-3D, it’s common to add surface...
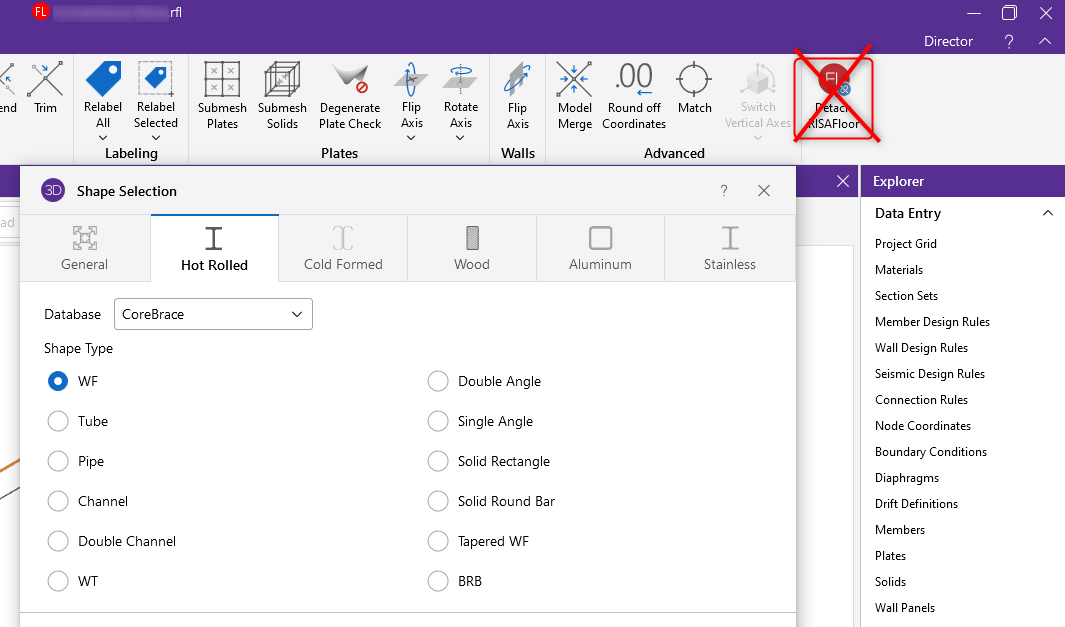
Why is the Buckling-Restrained Brace(BRB) not showing in your database...