


 By: Admin
In RISAFloor on the roof level, you layout only the top chords of the truss and create your slope. These top chords by themselves probably won’t be sufficient enough to get designed in RISAFloor, but, don’t worry, we’ll take care of that in RISA-3D when we model the rest of truss.
Before you take your model to RISA-3D, you want to address the unbraced length of the beams. The LeBend Top is defined in the Deck Properties, and Le2 (unbraced length for minor-axis Euler Buckling) is defaulted to Segment. The other unbraced directions should be addressed in the Beams spreadsheet.
Now you can take the model into RISA-3D and use the Templates tool and select Truss to create trusses in one quick step. Be sure to set-up the Sections sets you need for the truss before you get started in the truss generator. Enter the geometry of the truss, the web configuration and the starting point to generate your first truss.
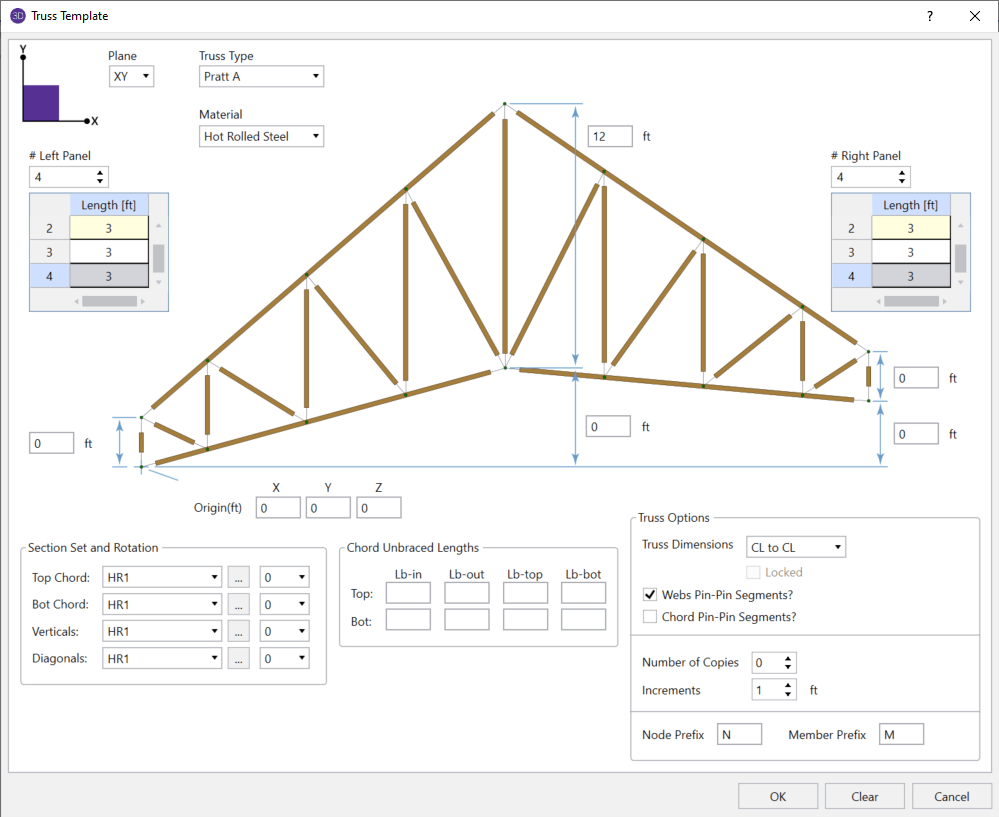
The truss template will open a new dialog for you with only the truss selected so that it’s easy to make modifications. Once you’ve modeled the first truss, you’ll need to delete the top chord of the truss because it’s already been modeled in RISAFloor. The webs will automatically connect to the existing top chord because they are physical members; trusses in RISA-3D do not need to be broken into segments due because they’re physical members.
Then you can copy the trusses using the Copy command.
For more information about truss modeling and design in RISA-3D, take a look at the videos below:
Steel Truss in RISA-3D
Wood Truss in RISA-3D

DECEMBER 16, 2010
Read More
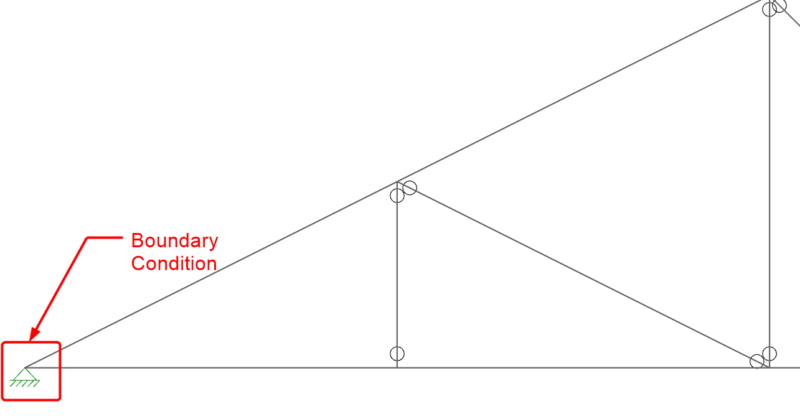
How Should I Model Boundary Conditions for a Truss in RISA-3D?
When it comes to trusses in RISA-3D, boundary condition definitions...