


 By: Admin
Introducing RISA Live!
With many of us working from home, our support team wanted to be able...
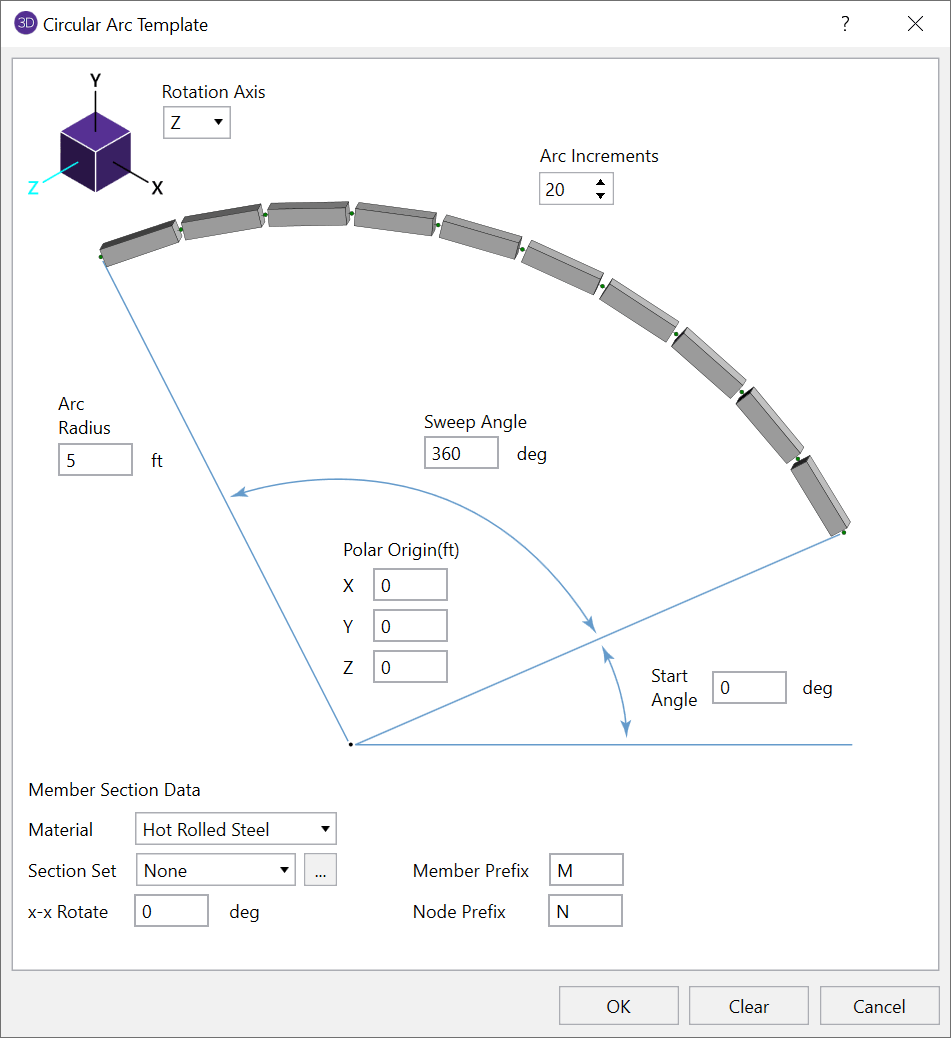
Transitioning plates from a circular (or elliptical) to a square (or rectangular) shape can be done easily using some of RISA-3D’s automated generation tools. Below is the procedure for transitioning a circle into a square, but it should be clear how this could be accomplished for other similar shapes.
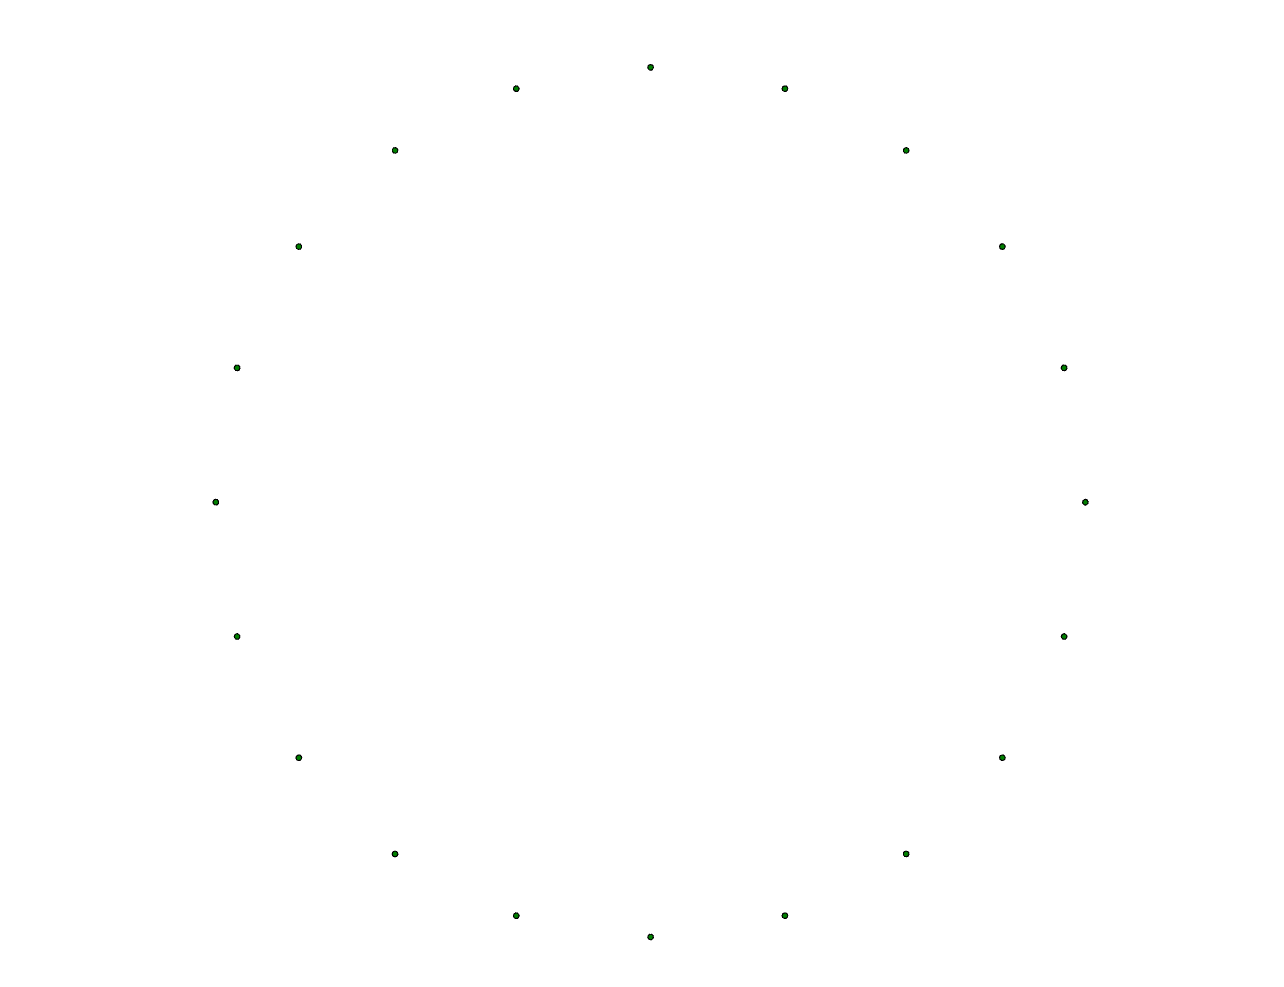
The circle of nodes generated by the template should now look like this:
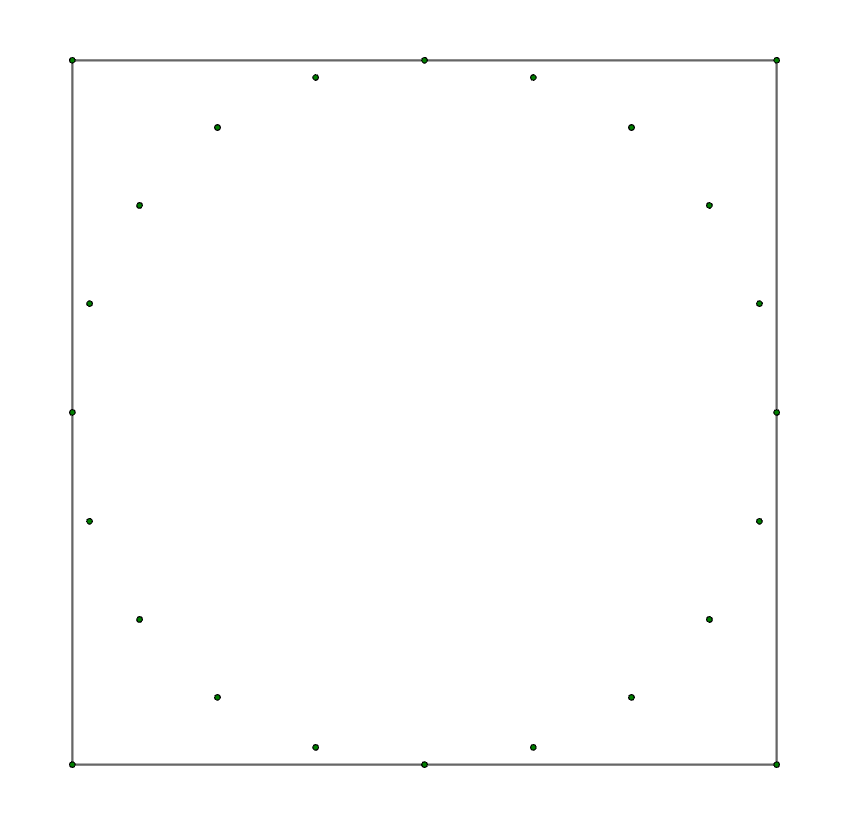
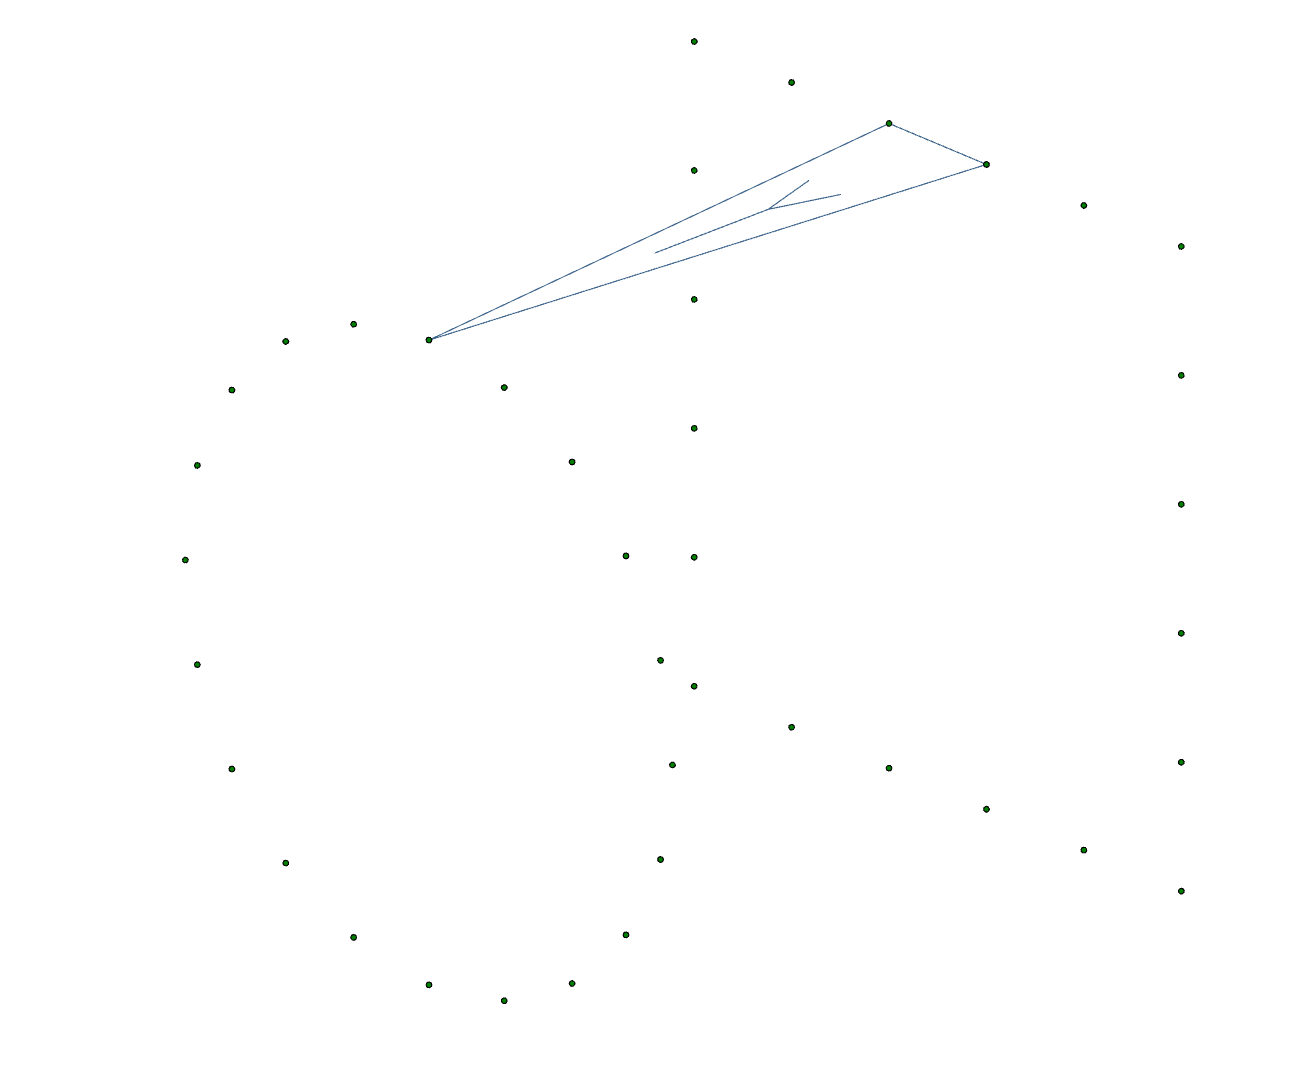
Next generate nodes in a square arrangement at a distance away from the circle equal to the required offset between the two sections.
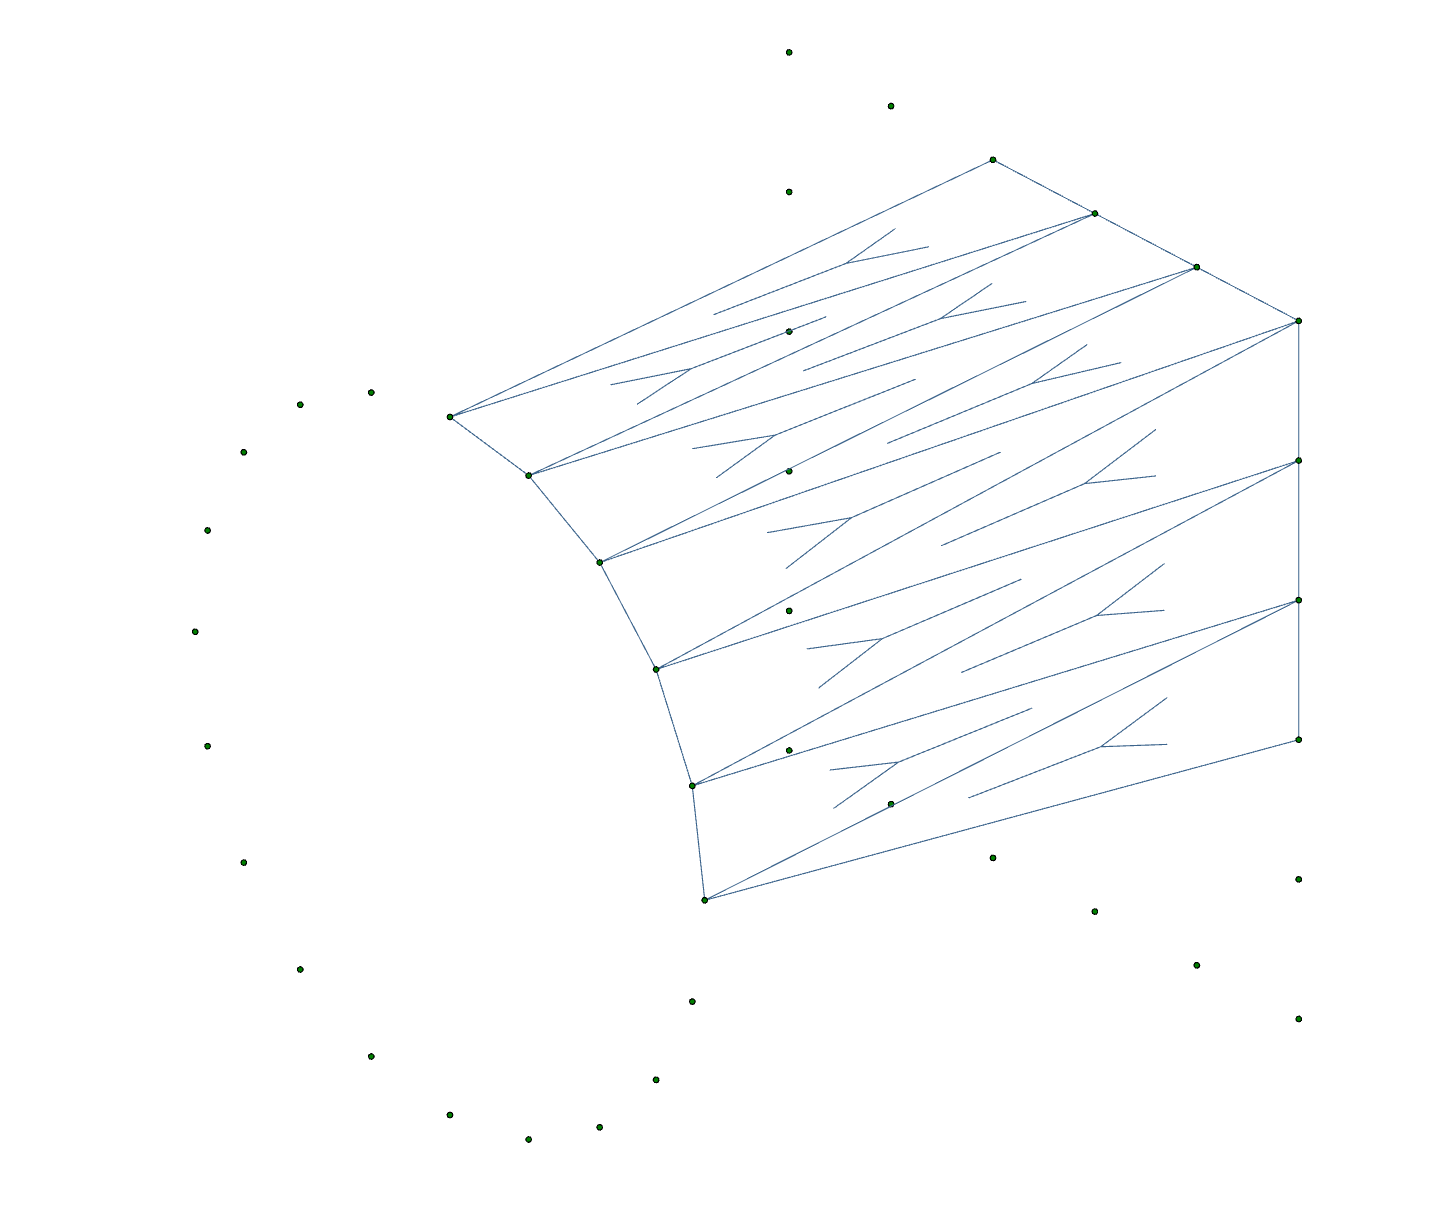
Next, we can subdivide the members:
Next, let's add the plates:
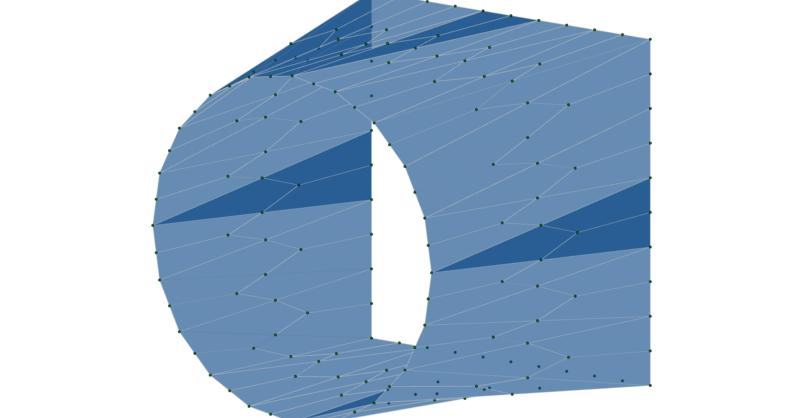
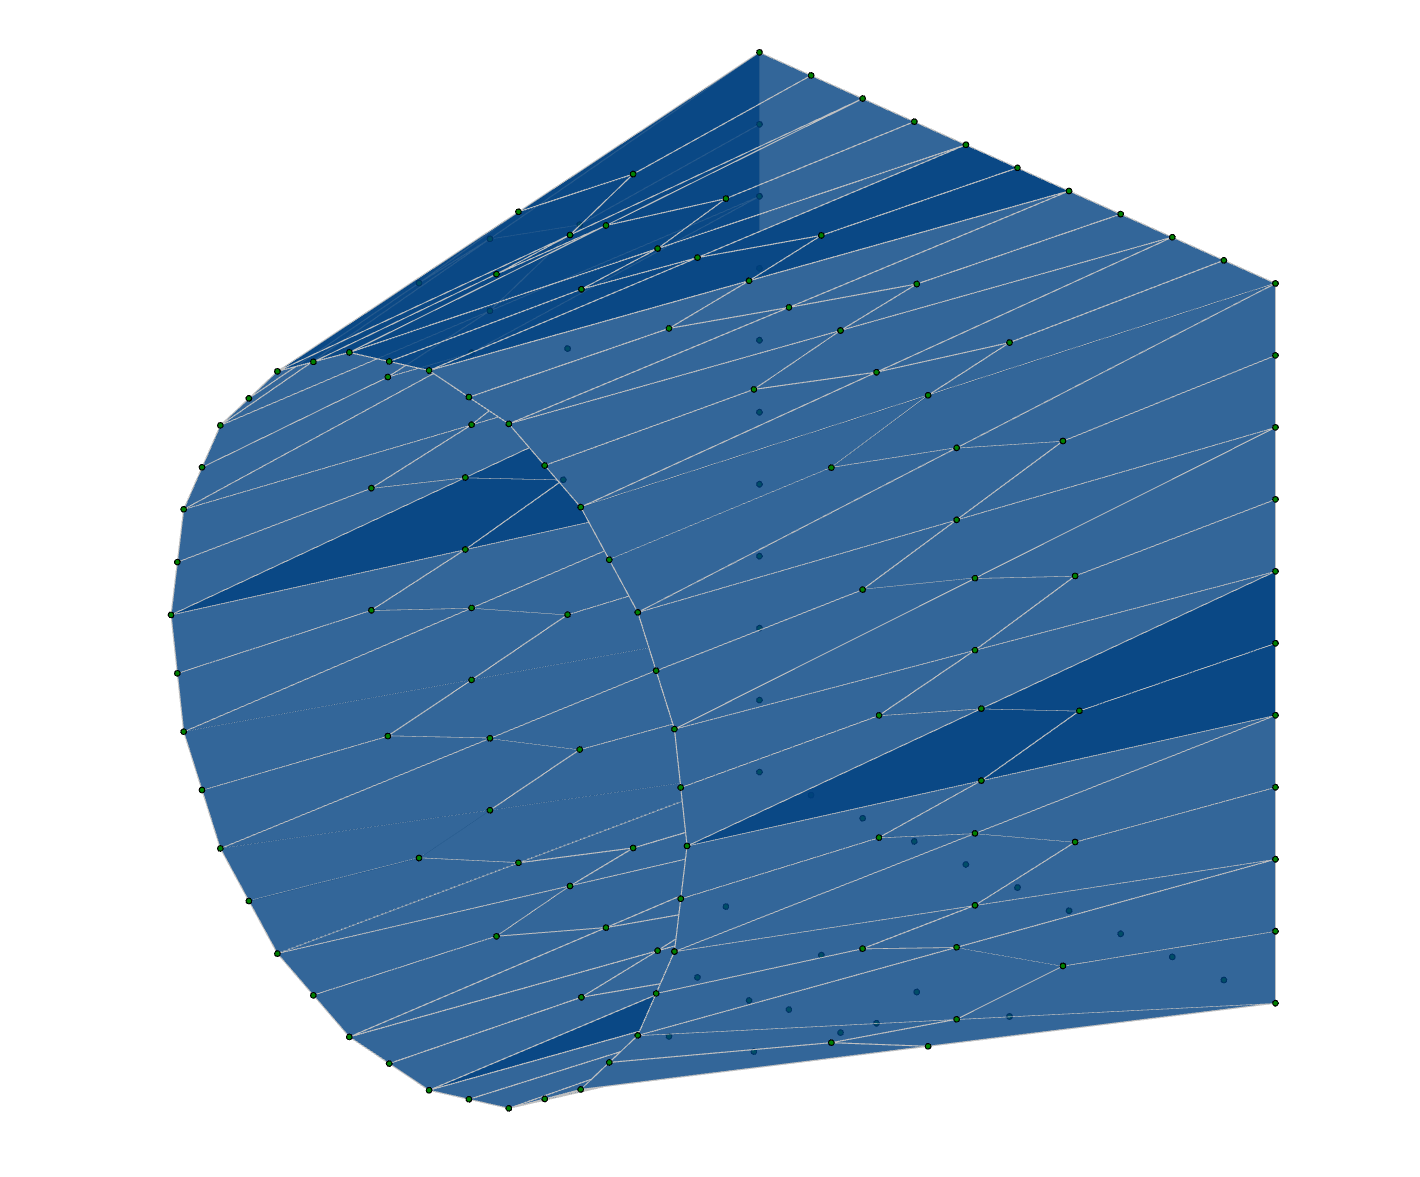
Your model should now look like this:
The plate transition is nearly done. The only remaining task is to submesh it for better results.
The completed model should now look like this:

With many of us working from home, our support team wanted to be able...
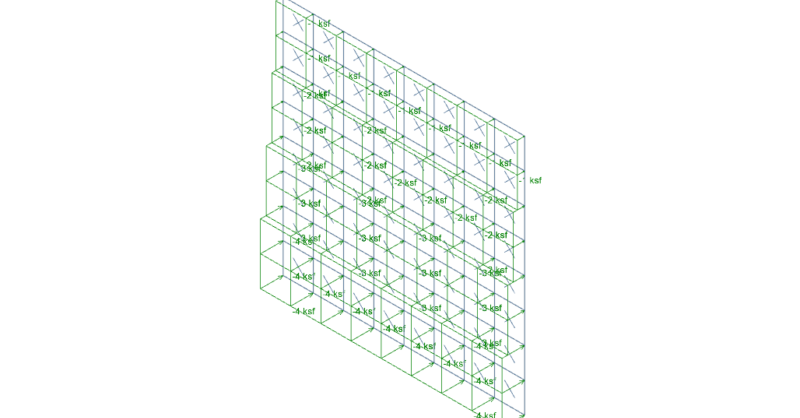
It’s easy to apply tapered surface loads to plates in RISA-3D by...
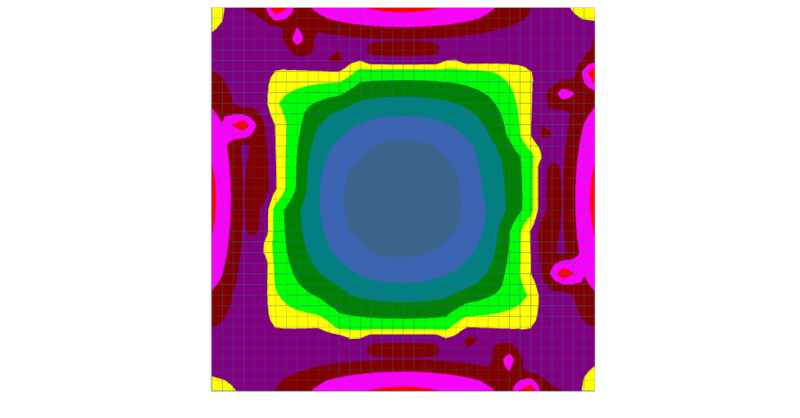
After solution in RISA-3D, you can use Results View Settings to view...