Welded Wire Reinforcement in RISAFloor ES and RISAFoundation
RISAFloor ES and RISAFoundation now include the ability to assign and...
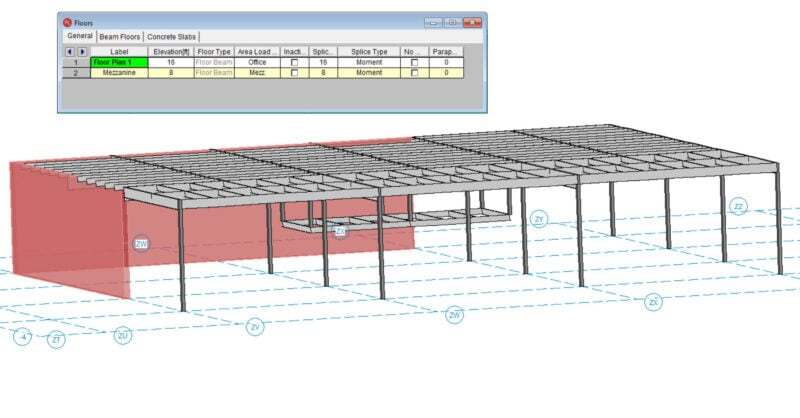
With the release of RISAFloor Version 16, users can now model, analyze and design hanger columns. This type of construction has been widely requested by customers and will allow customers to accurately model hanging mezzanine levels in building structures.
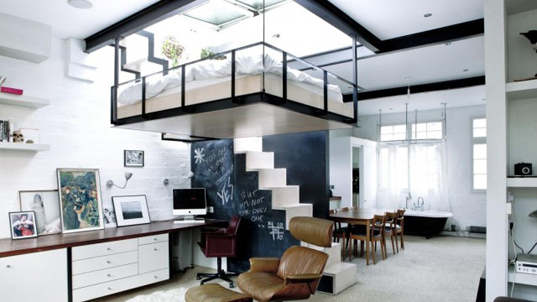
Unlike tradition columns, hanger columns resist load primarily in tension due to the fact that they are not supported at their base. This type of construction is widely used in multi-story commercial and residential buildings because it allows for the column layout on individual floors to be modified where larger, open spaces are required by the building’s program. When utilized to support mezzanine floors, the floor loads are distributed up the column to the floor above.
Create beam supported floor at elevation above desired mezzanine. This will allow for the mezzanine to be added and "hung" from existing structure.
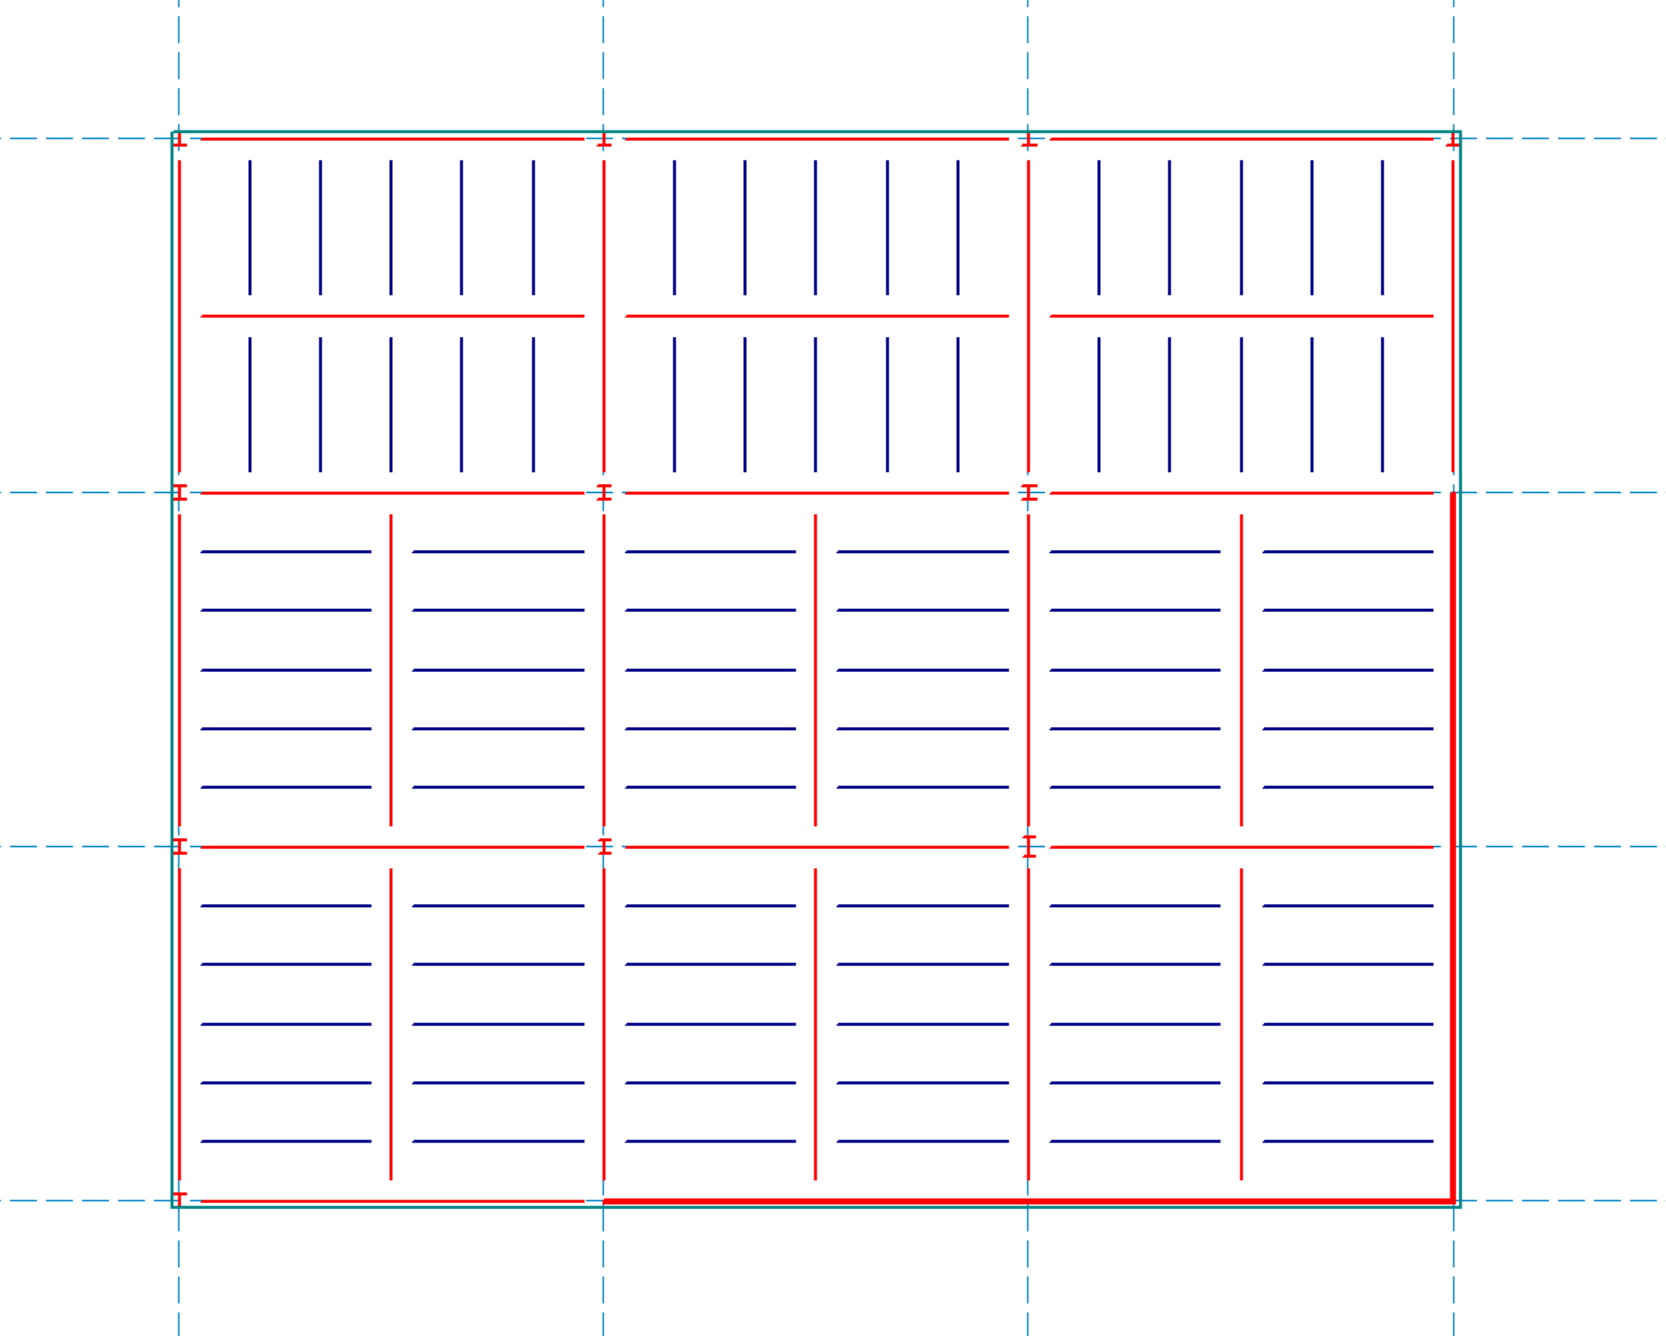
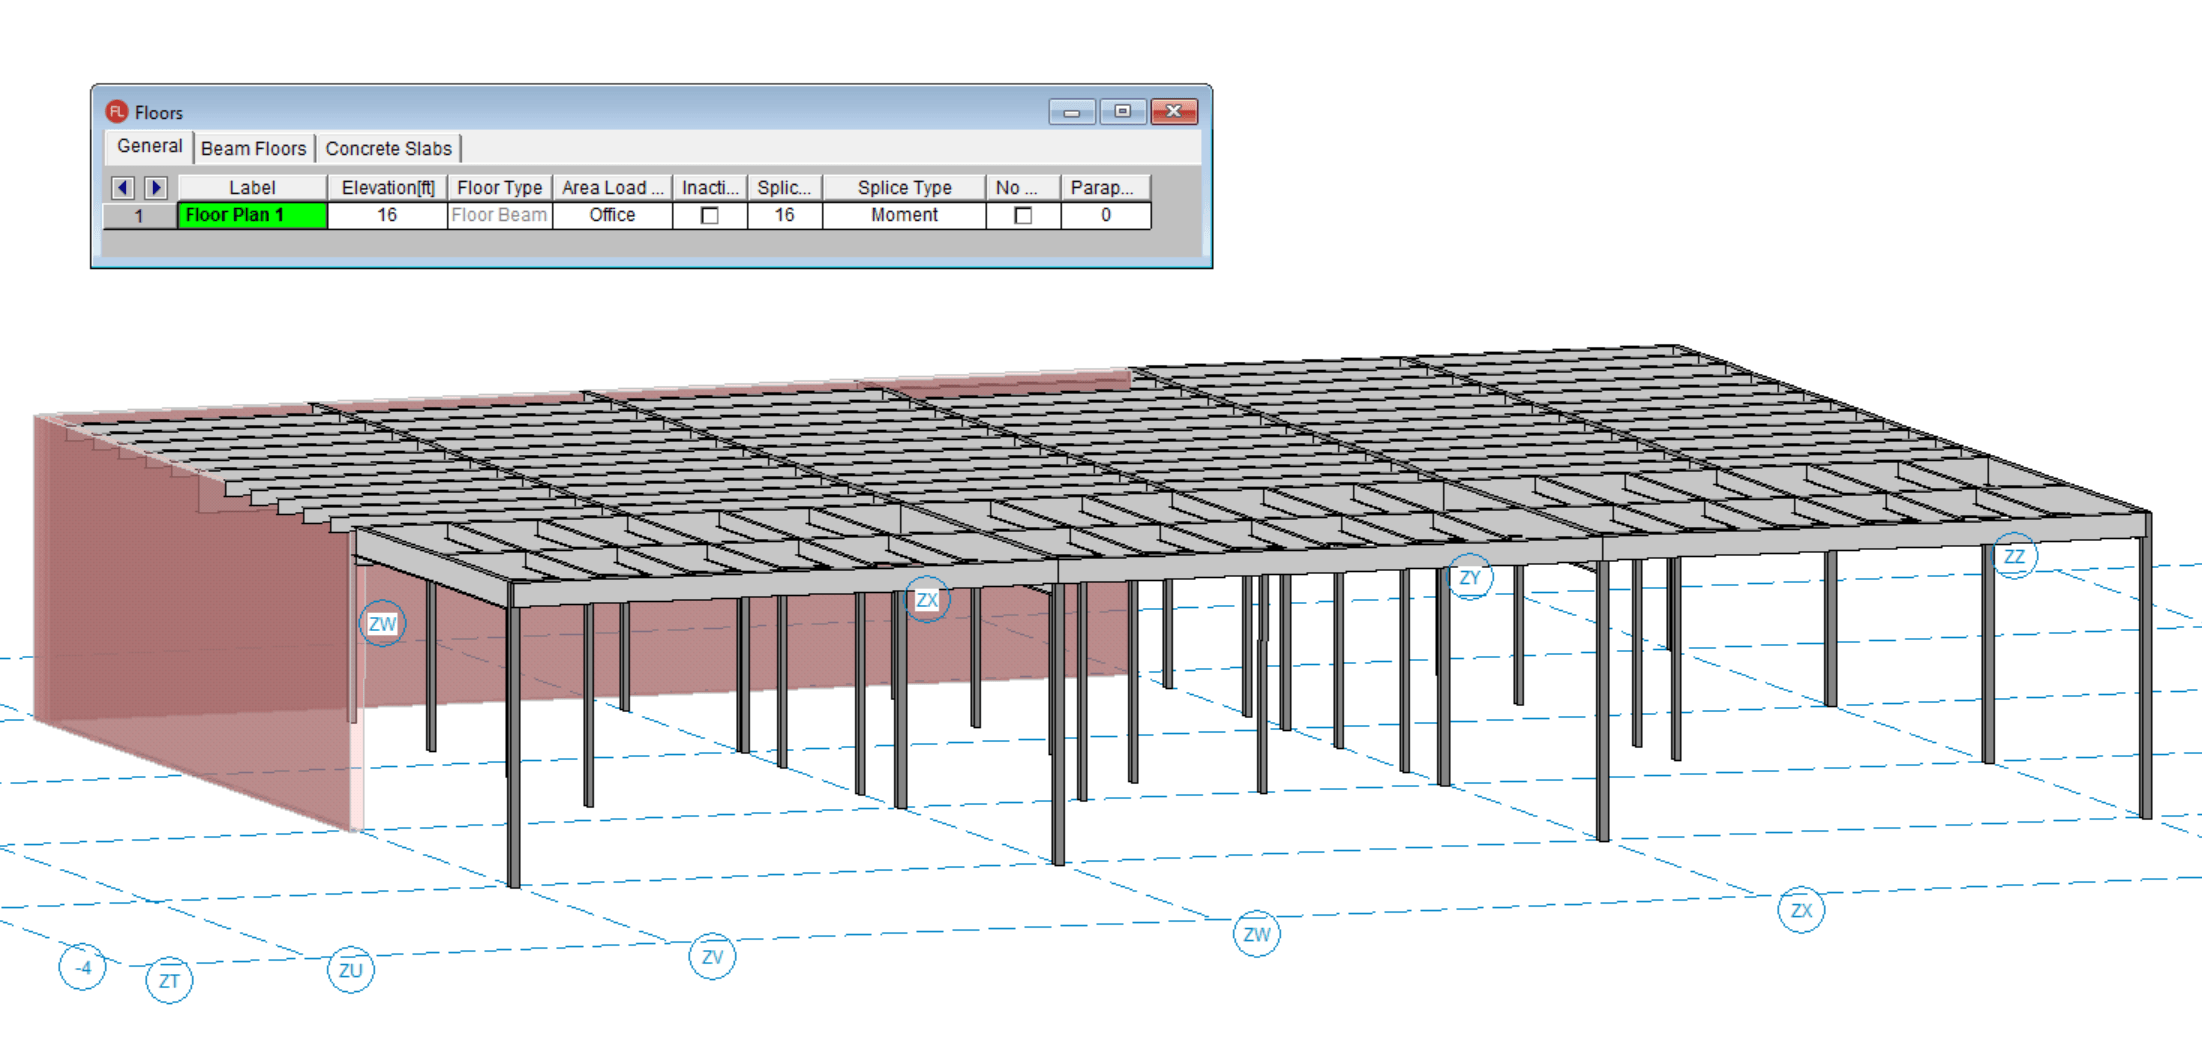
Create "Mezzanine" floor level by navigating to Insert > Floor and choosing the desired floor elevation.

Open the "Draw or Modify Columns" tool located on the Graphical Editing Toolbar and select Hanger Columns. If more than two levels exist, select the bottom and top levels as required.

Model columns at desired locations. Hanger columns will be marked with an orange "hanger" symbol and can be either gravity or lateral members.
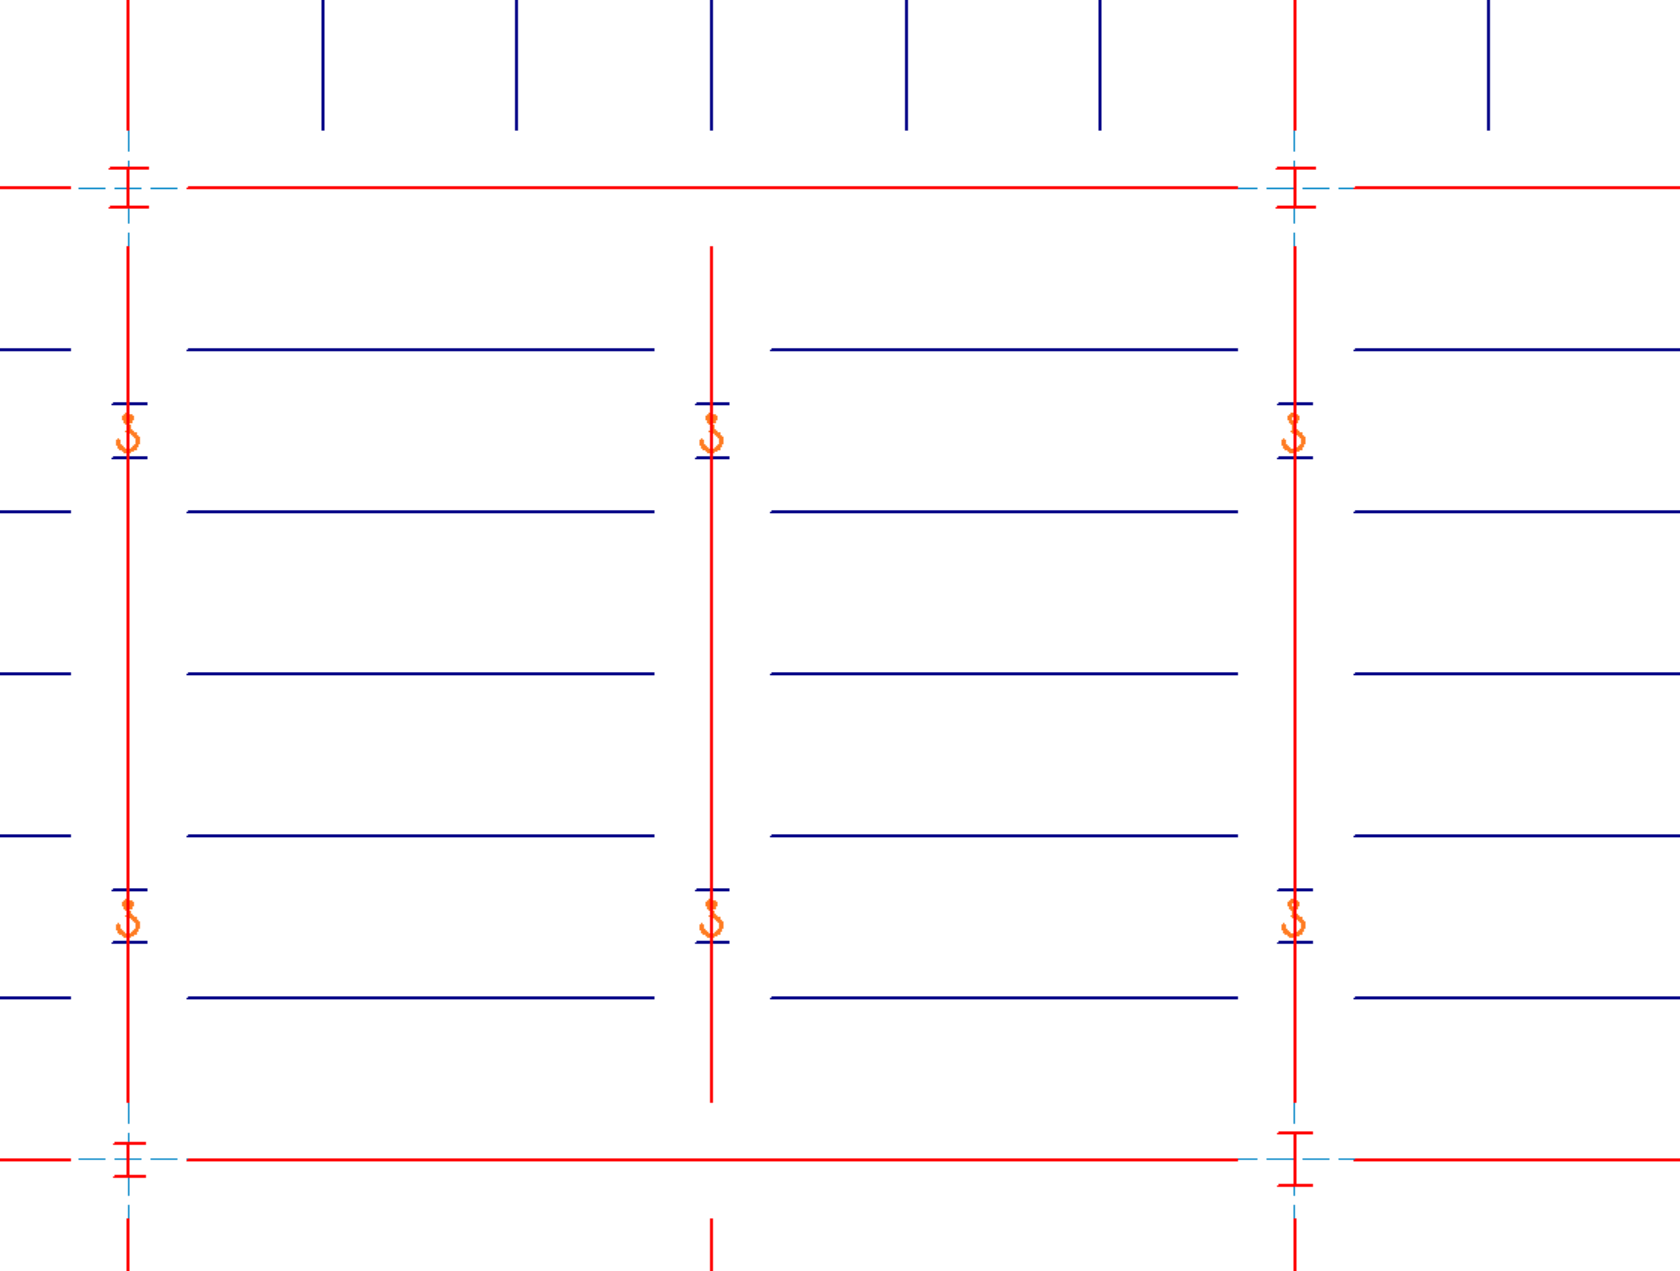
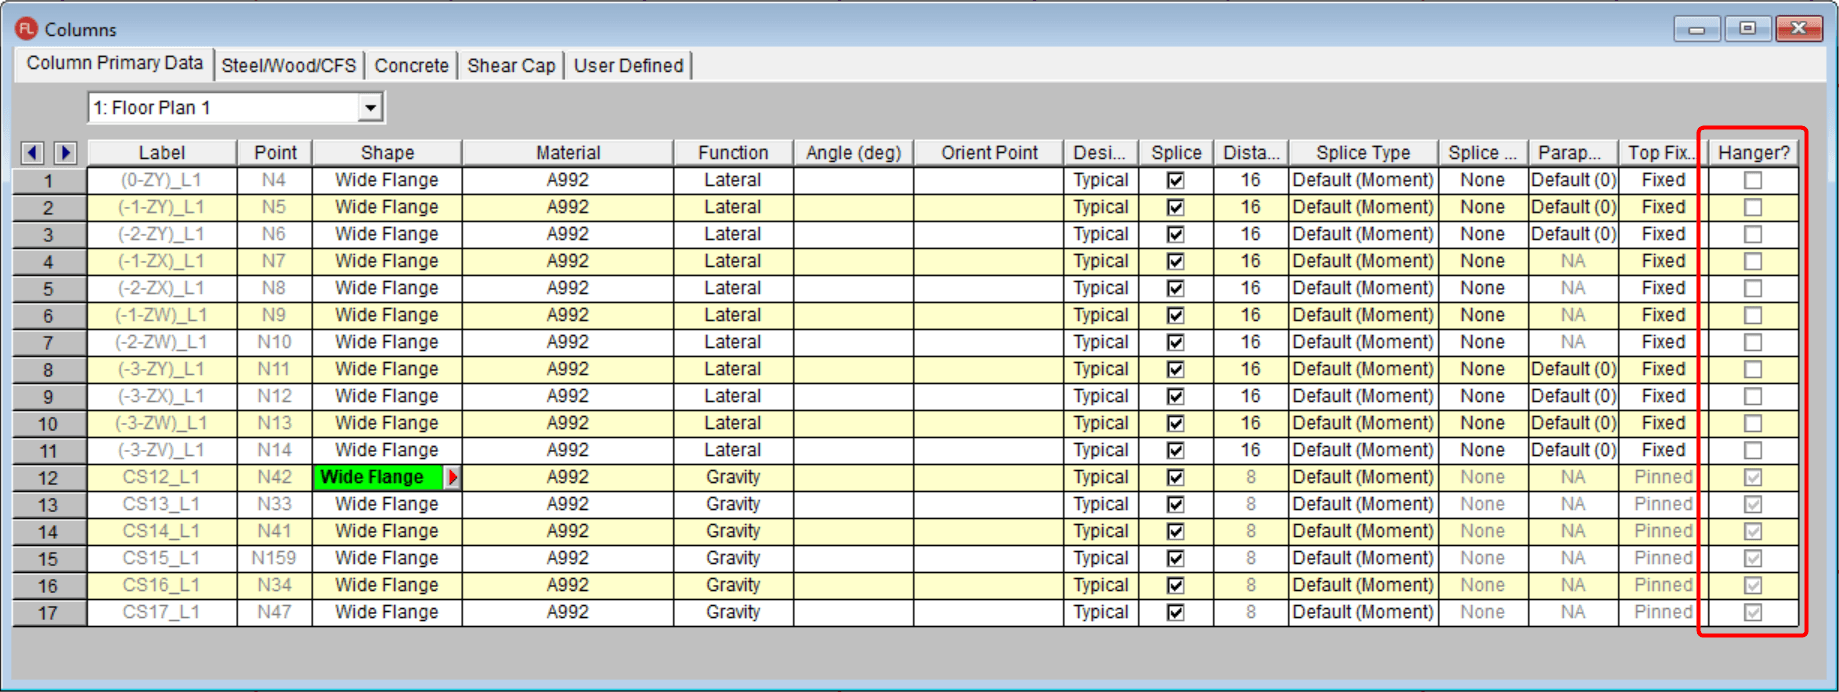
Next, switch to show the mezzanine level in plan view and the hanger columns will be shown in cyan. The floor framing can now be added using the "Draw or Modify Beams" tool along with the "Create Infill Framing" tool.
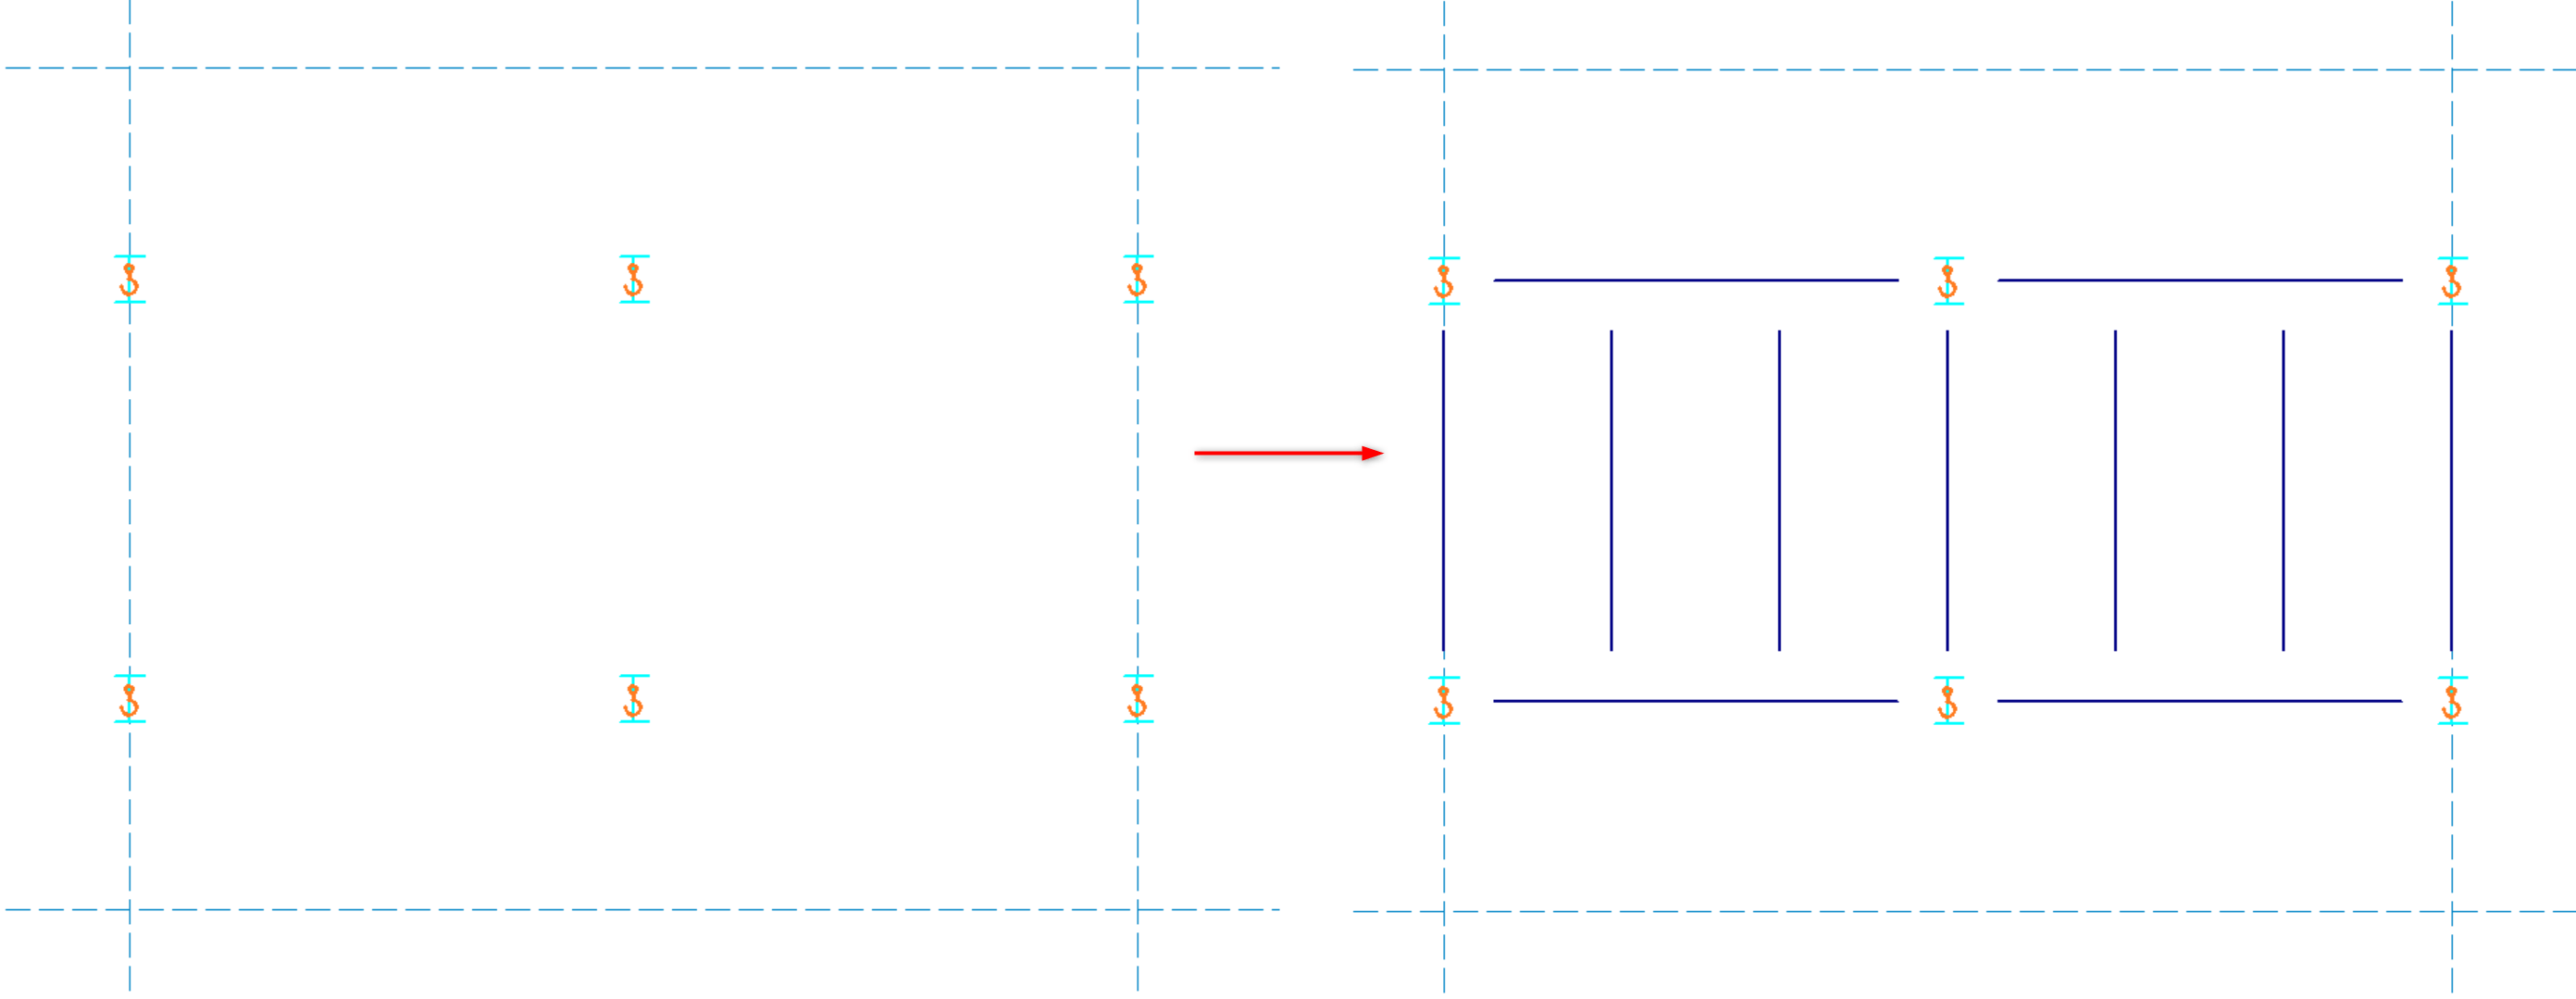
Finally, the slab edge for the mezzanine can be added and the floor is ready for loading, analysis and design.
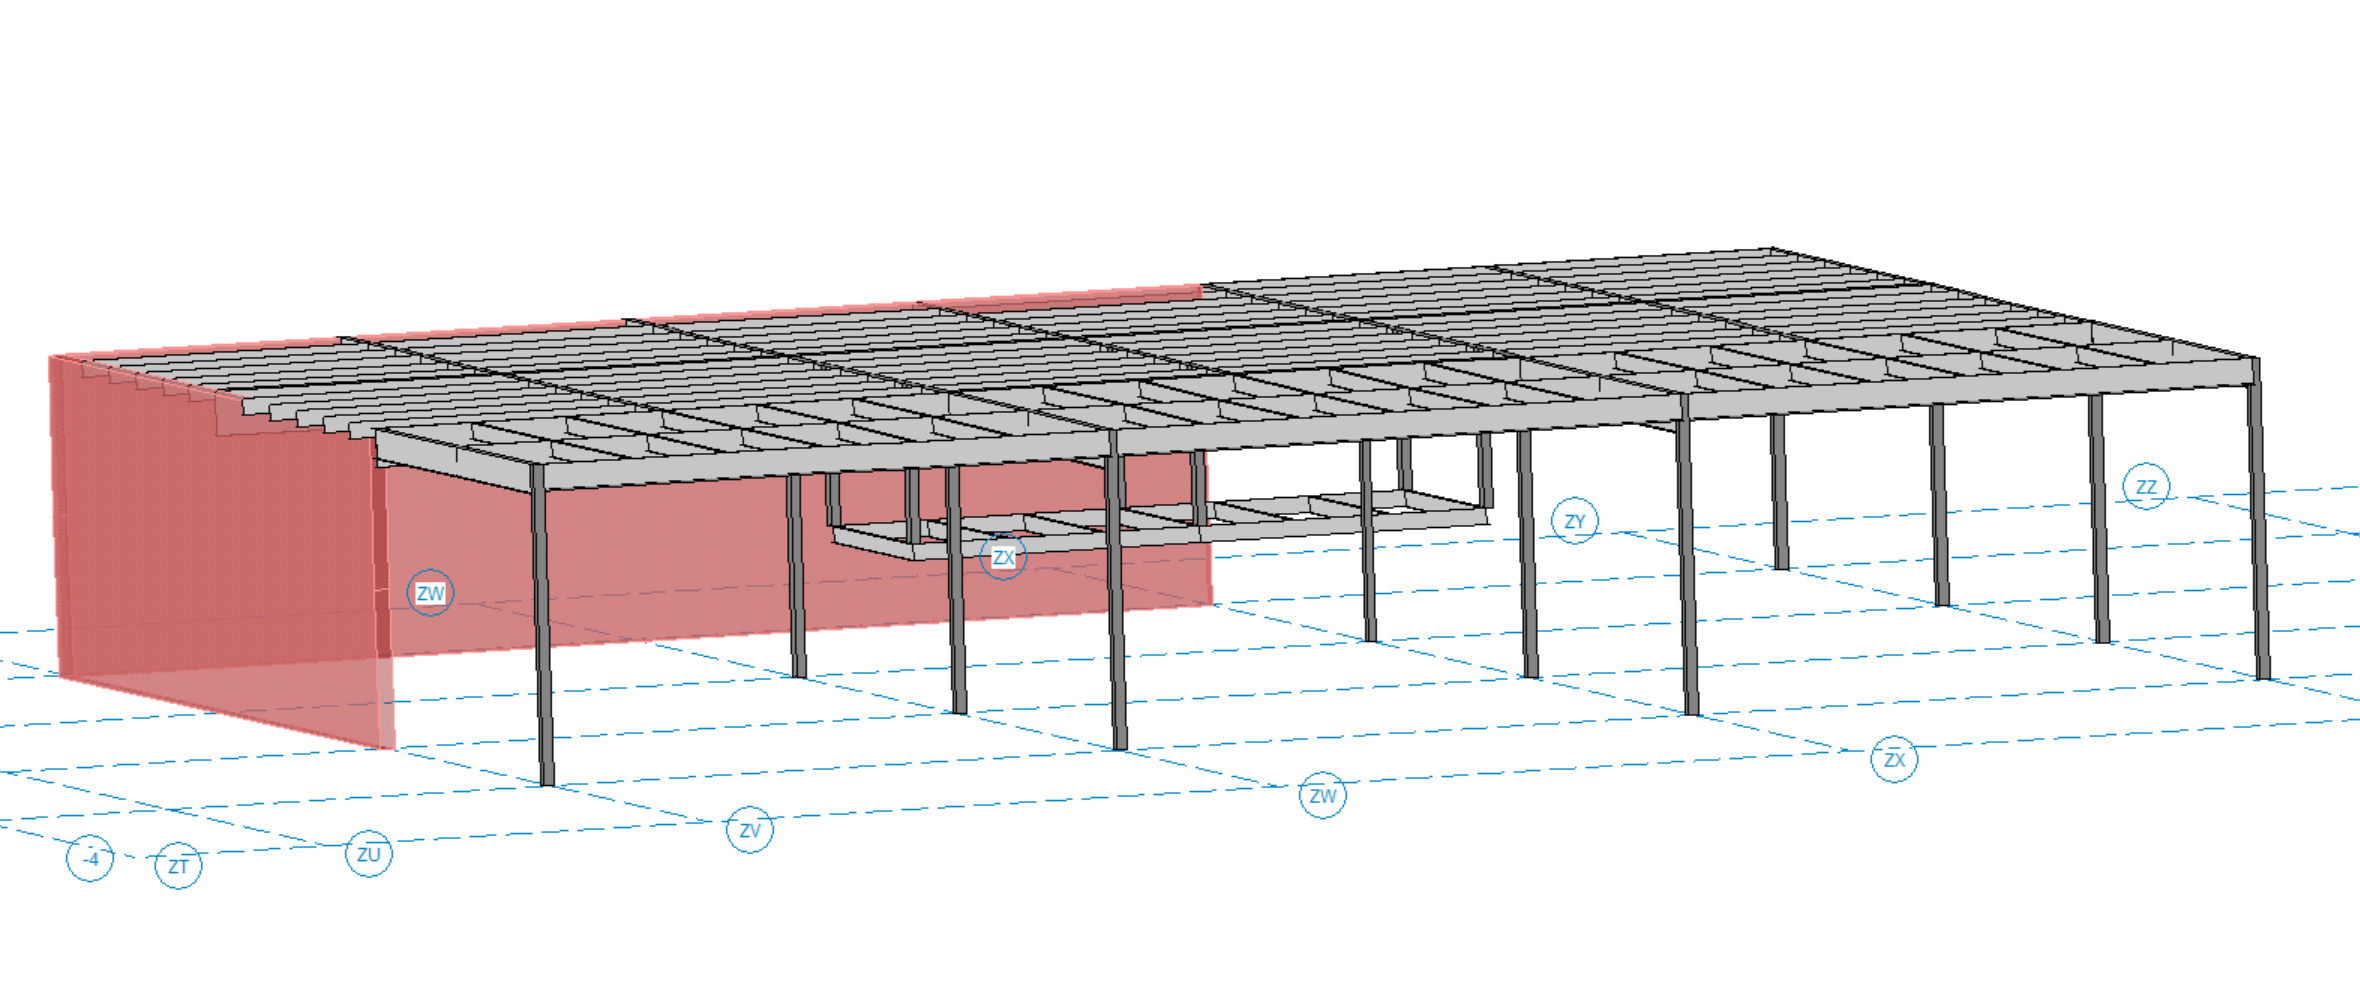
Note: Make sure to uncheck the "No Wind/Drift" option found in the Floors spreadsheet for the mezzanine level since this "hanging floor" will not act as a lateral diaphragm. Also, hanger columns are always pinned at the top of the column when transferred into RISA-3D.

For more information about hanger columns and their use in RISAFloor, search Hanger Columns in the RISAFloor Online Help File section.
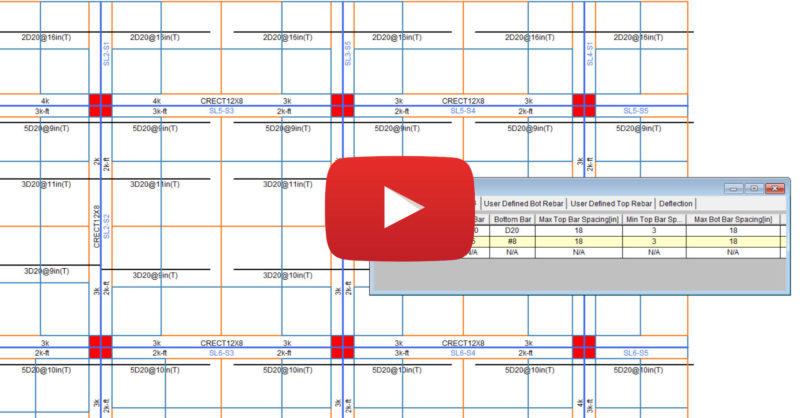
RISAFloor ES and RISAFoundation now include the ability to assign and...
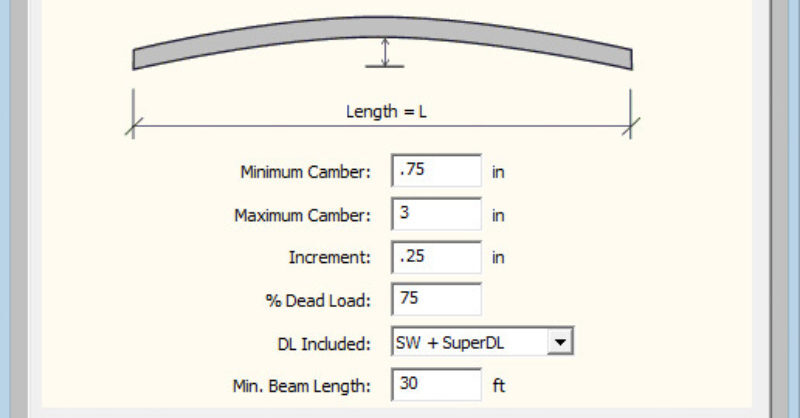
RISAFloor has the ability to assign camber design rules which allow the...
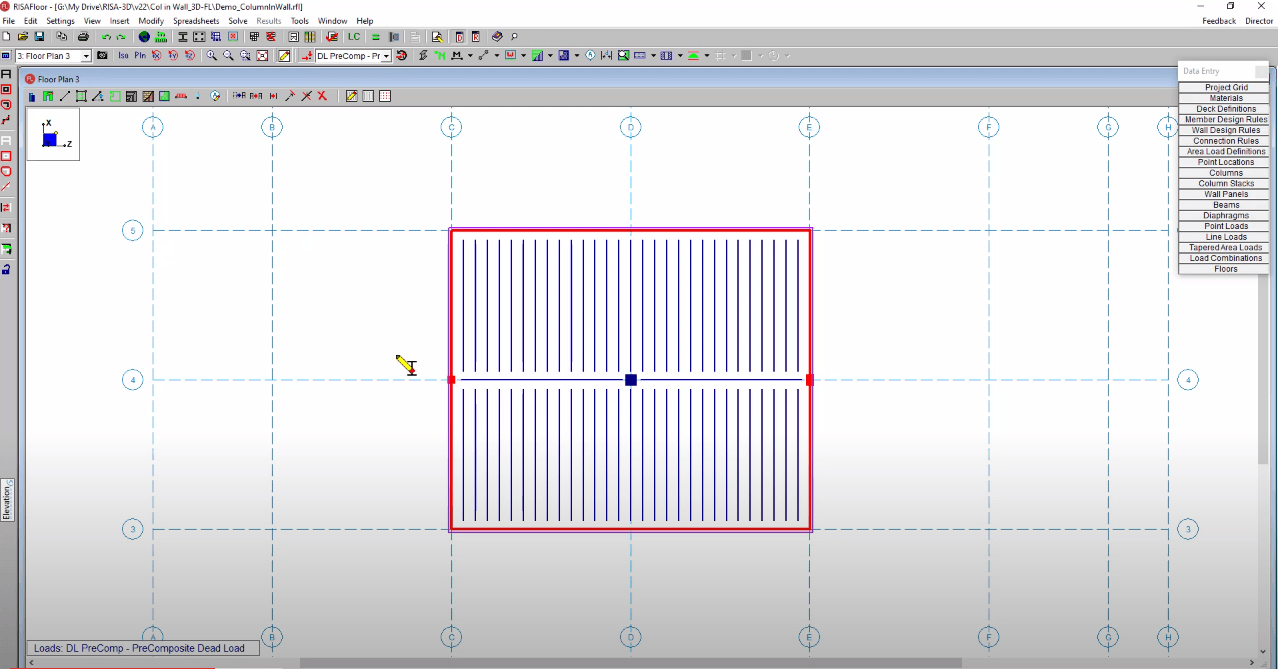
We're excited to unveil the latest advancements in structural design...