


RISA-3D Guide: Tips for Faster Structural Modeling
RISA-3D is one of the most versatile structural modeling software...
When working with RISA-3D, a structural analysis and design software, it's essential to thoroughly review your model to ensure accuracy and reliability. This checklist will guide you through the critical steps to review your RISA-3D model before analysis and design. This guide is not all encompassing for every type of model and situation and therefore are recommendations only. While this guide is not all encompassing, it is a really good start for those new to RISA-3D but also can be used to create or expand your company's review guideline/standards. Check out our guide below.

By following this comprehensive checklist, you are reducing the risk of modeling errors and ensuring the structural integrity of your RISA-3D project. If you need additional training for getting started in RISA-3D. check out our many training offerings such as RISA-3D Quickstart. Click the button below.
RISA-3D is one of the most versatile structural modeling software...
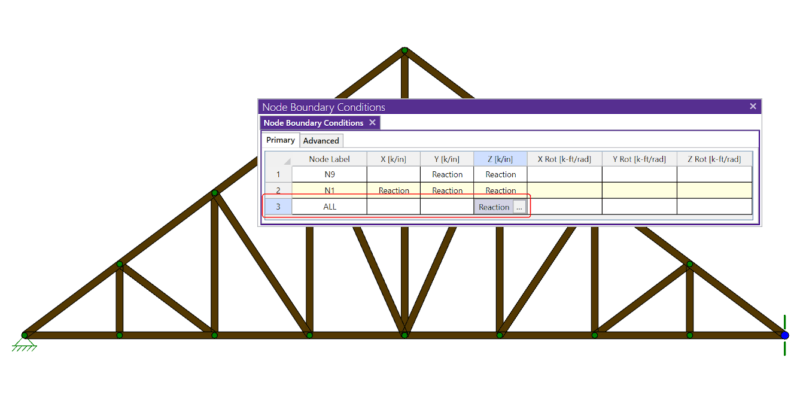
If you have ever tried to solve a two-dimensional model in RISA-3D,...
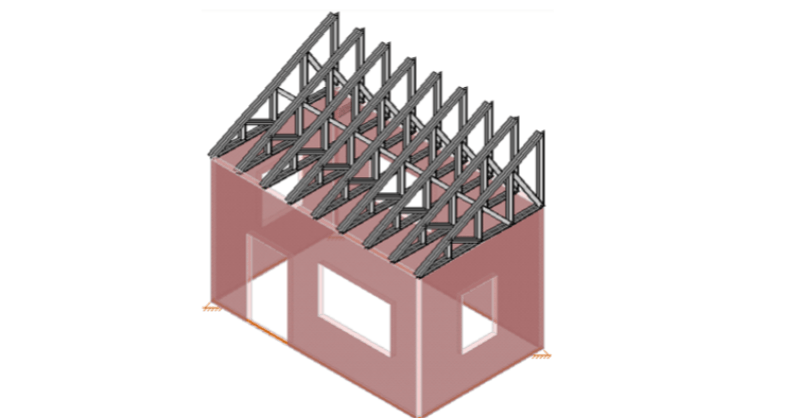
RISA-3D allows you to append, or merge, multiple models into a single...