Admin
Admin
Adding Roof Parapets in RISAFloor
RISAFloor v11 now includes the option to add parapets and parapet loading to a building.
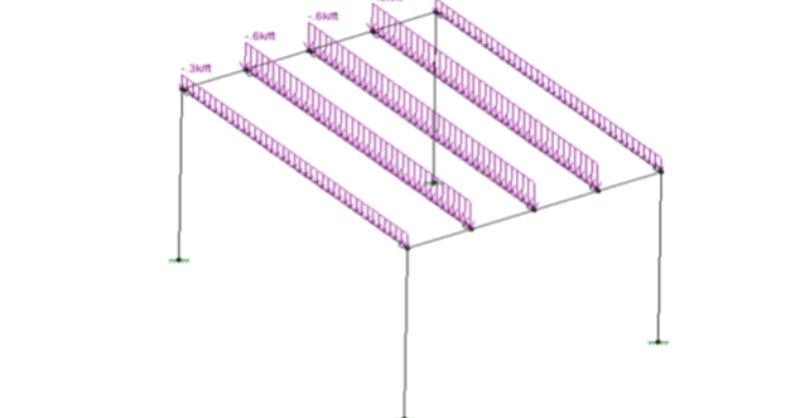
RISAFloor has the ability to apply tapered snow loads on your building’s roof to simulate drift snow loads.
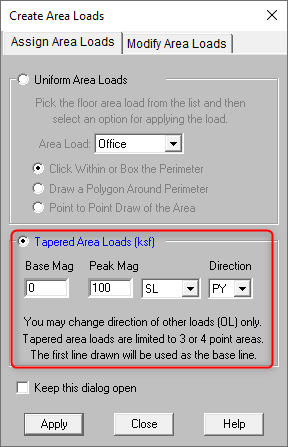
Go to the roof framing level in your model and select Draw Area Loads from the Drawing toolbar. This will open the Create Area Loads dialogue box.
Select the Tapered Area Loads option and enter in your Base and Peak Magnitude values for your load. Select SL (Snow Load) as the load category and select PY as the Direction.
There are three options for Direction; PY, y and Y. Y represents the global Y direction, y represents the local y direction of the members and PY is the projected load in the global Y direction. See "Using Projected Loads in RISA-3D" for more information on how projected loads are applied.

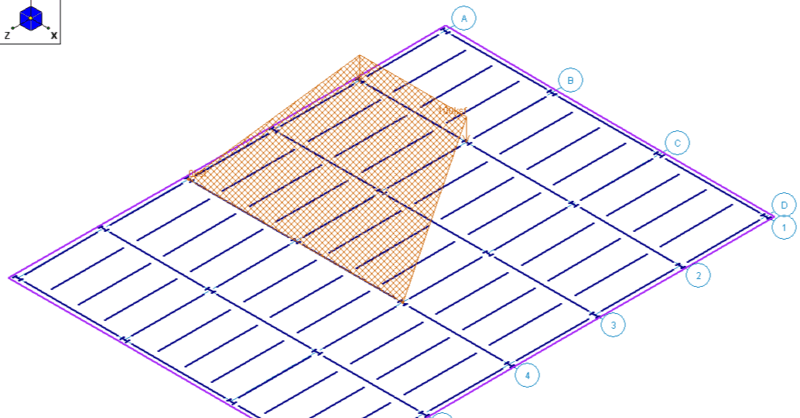
Click Apply and select the four points that will make up the perimeter of your snow load. Note that the first two points you select will be the base of the tapered load and the last two points will be the peak.
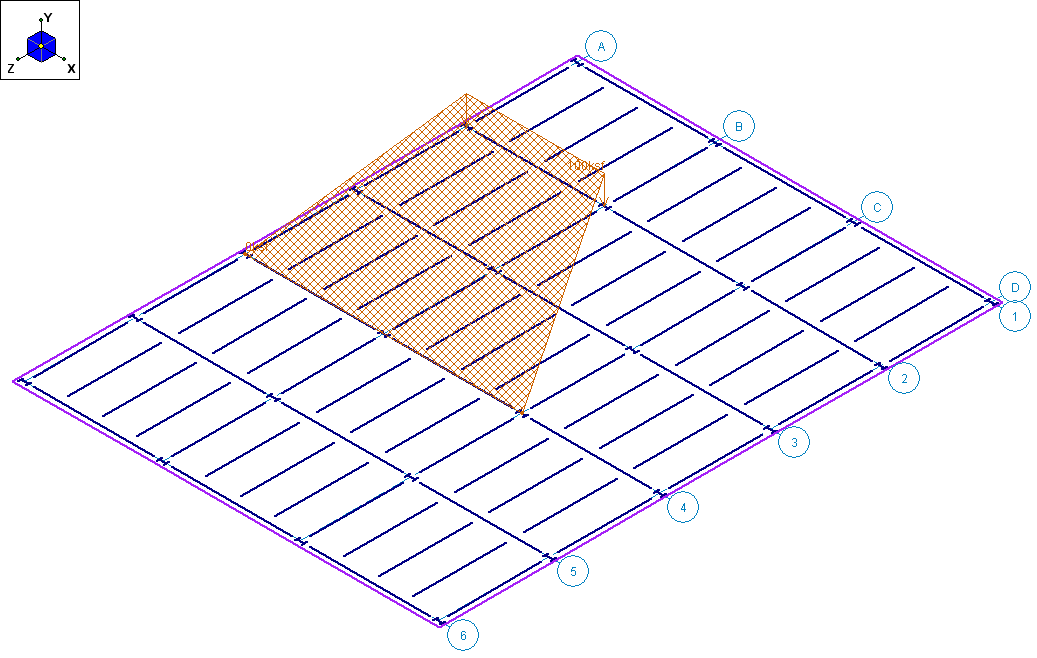
These tapered area loads can be drawn as any four sided polygon and are not required to be rectangular or square. To view your area load in an isometric view select the ISO button from the Windows toolbar.
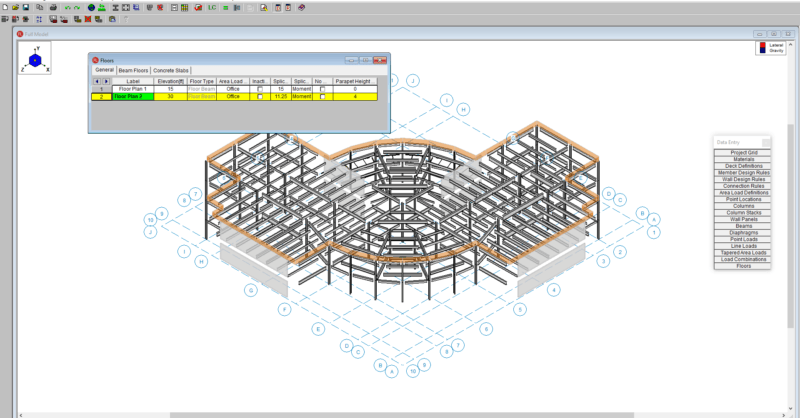
RISAFloor v11 now includes the option to add parapets and parapet loading to a building.
After solving a model with Member Area Loads, RISA-3D will automatically create Transient Basic Load Cases that allow the user to verify load...